

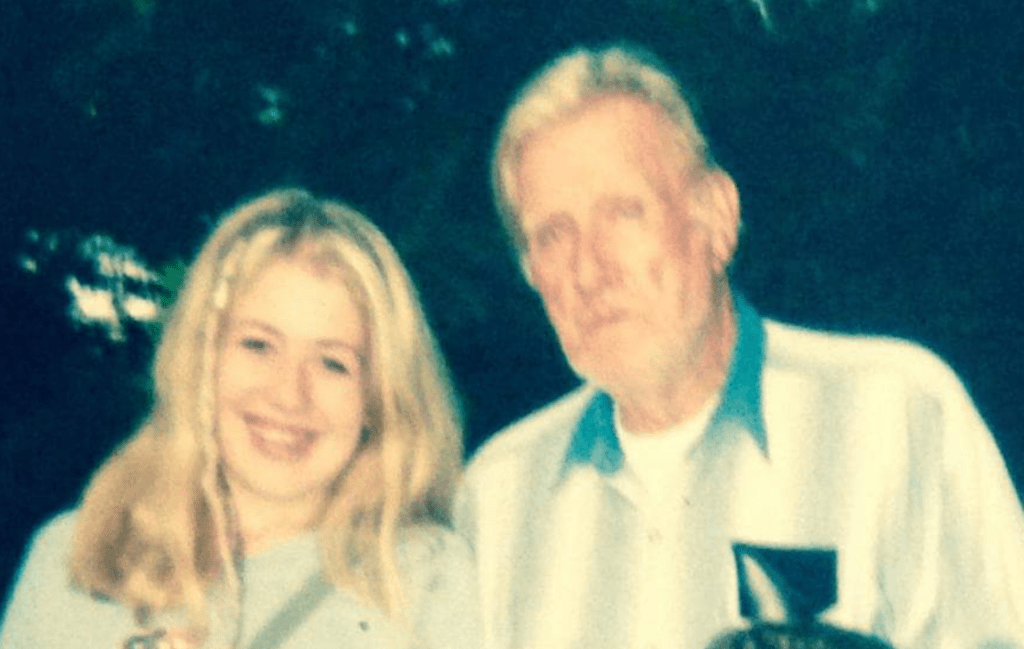
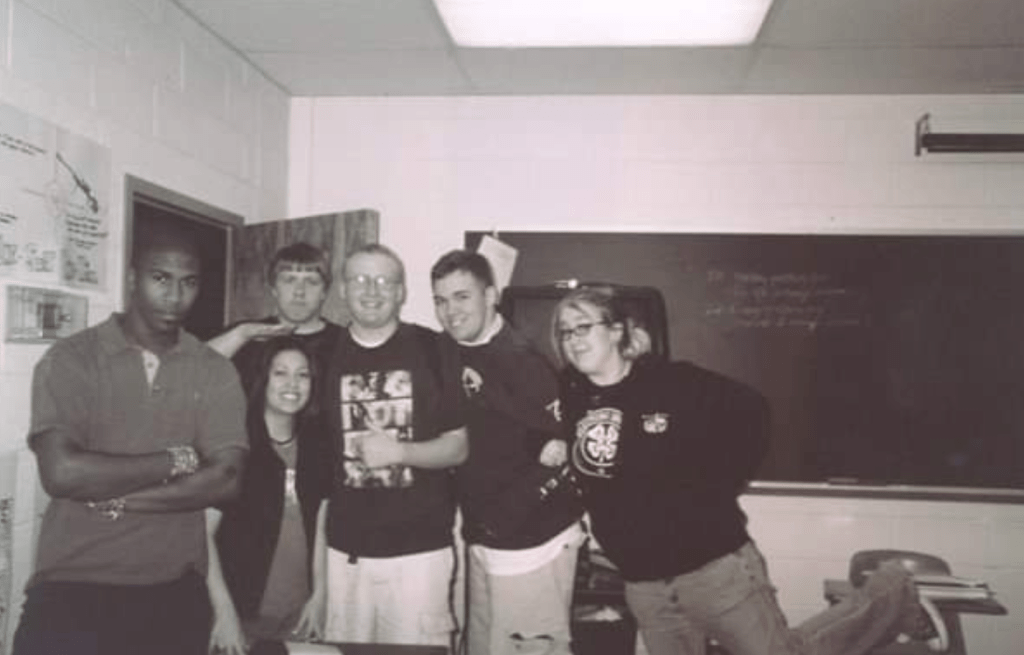
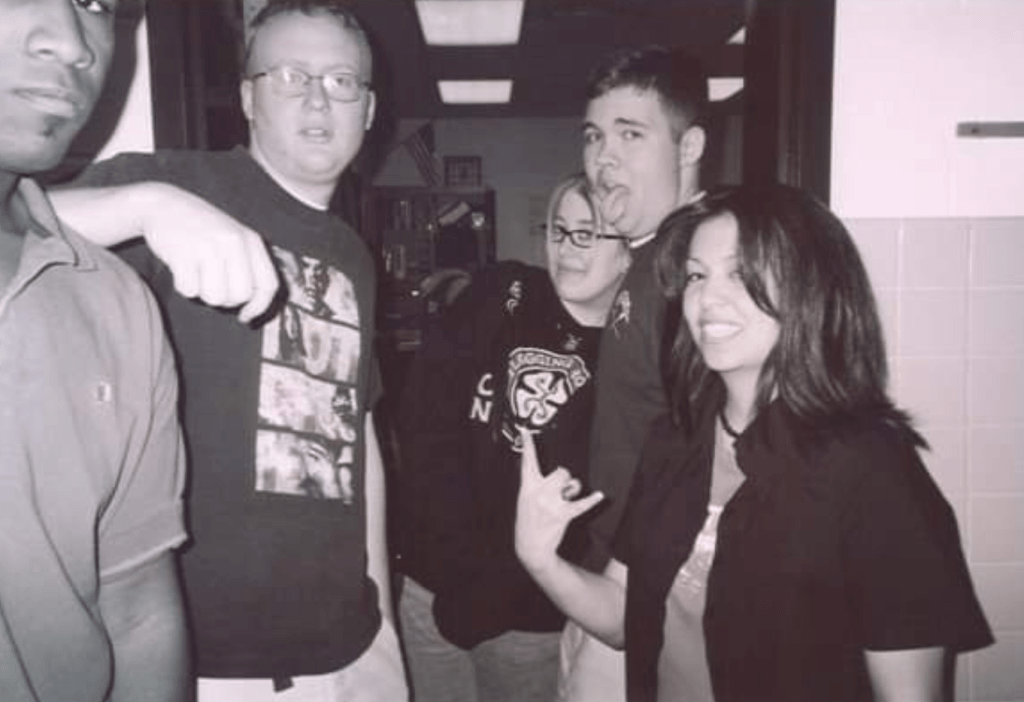
I’m sure everyone looks back at the period of their youth and views it through rose-colored glasses, but I’m an especially proud Millennial. I grew up in the 90s and early 2000s and let me tell you, that was a strange and wonderful time for pop culture and fashion. Check out some of my own questionable fashion choices from around the year 2000.


Ever since the onset of COVID-19, I’ve been taking the occasional trip down memory lane and rewatching a few of the television shows that I watched in my formative years and memories of the millennium have come crashing back to me in all their baby blue, animal print, and crushed velvet glory! My husband, who is a few years older than me and consequently situated at the tail end of Gen X, missed a lot of these seminal shows and has been experiencing them for the first time. I’m a little jealous, to be honest with you. What I wouldn’t give to row down the creek again with brand new eyes. Or swoon over Jordan Catalano. Or walk the halls of John Adams High.
As fond as these memories are, I have to say that I am not super bummed to have put a lot of turn of the century fashion trends in my rearview mirror. Tiny butterfly clips and low-rise jeans? No thank you very much. Having said that, one particular style icon caught my eye during a recent rewatch of Felicity. Amy Jo Johnson, who was better known as the Pink Power Ranger to most of us watching the coming of age drama at the time it aired, played best friend Julie to Keri Russell’s titular Felicity for several years on the show. As a teenage girl in the year 2000, I’m positive that Felicity was the character I should have been rooting for, and maybe at the time she was, but as a woman in my 30s now, I can tell you with confidence that Julie deserves justice. If you haven’t seen the show, go check it out and decide for yourself. That’s a topic for an entirely different blog post.
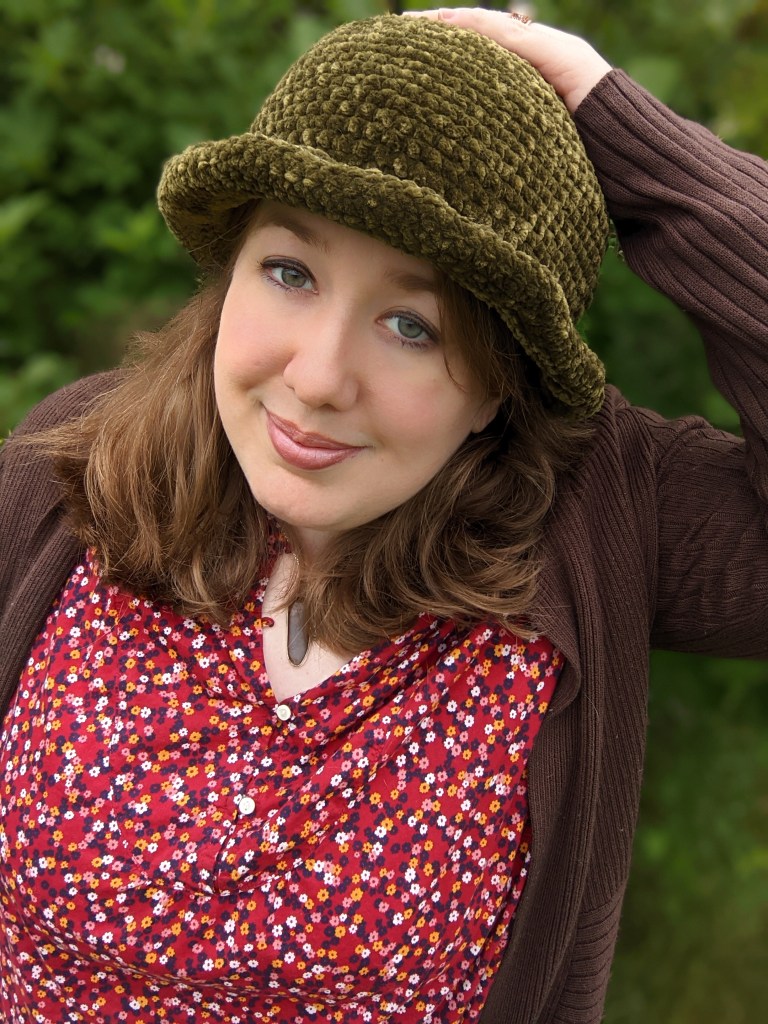
What I can do in this post, however, is pay homage to one of the most iconic BFFs in teenage television history by offering a pattern inspired by one of the many fabulous hats featured on Felicity. This hat is worked using a bulky velvet yarn and smallish hook to help give it a little bit of form. The yarn has very little give, so keep that in mind and adjust accordingly where noted if you need to. The pattern was written to fit an average to large adult head size, but could be adjusted to suit other needs by stopping increasing rounds as needed.
The Best Friend Bowler
Materials:
-5 mm hook
-Yarn Bee Velvety Smooth Olive (2 skeins)
-Stitch markers
-Yarn needle
-Safety pins or clips
-Scissors
-Measuring tape
Techniques & abbreviations:
-MC: magic circle
-Ch: chain
-Rnd(s): round(s)
-Inc: increase
-Sc: single crochet
-St(s): stitch(es)
-Sl st: slip stitch
-Rep: repeat
-Nxt: next
-FO: fasten off
Crochet in continuous rounds
Single crochet/single crochet increase
Basic sewing and shaping
Measurements & gauge:
Hat height: ~7.25 inches
Brim width: ~1.5 inches
Outer circumference: ~24.5 inches
Gauge: 4 inches = 13 sts/13 rnds
Pattern:
MC, ch 1.
Rnd 1: mark 1st st of this rnd and move to the first st of each subsequent rnd, working in continuous rnds. Do not join. 6 sc in MC, pull tight to close. (6)
Rnd 2: 2 sc in each st around. (12)
Rnd 3: *sc in first, 2 sc in nxt.* Rep *-* around. (18)
Rnd 4: *sc in nxt 2, 2 sc in nxt.* Rep *-* around. (24)
Rnd 5: *sc in nxt 3, 2 sc in nxt.* Rep *-* around. (30)
Rnd 6: *sc in nxt 4, 2 sc in nxt.* Rep *-* around. (36)
Rnd 7: *sc in nxt 5, 2 sc in nxt.* Rep *-* around. (42)
Rnd 8: *sc in nxt 6, 2 sc in nxt.* Rep *-* around. (48)
Rnd 9: *sc in nxt 7, 2 sc in nxt.* Rep *-* around. (54)
Rnd 10: *sc in nxt 8, 2 sc in nxt.* Rep *-* around. (60)
Rnd 11: *sc in nxt 9, 2 sc in nxt.* Rep *-* around. (66)
Rnd 12: *sc in nxt 10, 2 sc in nxt.* Rep *-* around. (72)
-Note: You may want to stop here and check your size. If it feels good to you, stop increasing here until it comes time to start the brim. Just remember you’ll be one increment of 6 sts behind the pattern.
Rnd 13: 1 sc in each st around. (72)
Rnd 14: *sc in nxt 11, 2 sc in nxt.* Rep *-* around. (78)
Rnds 15-25: 1 sc in each st around. (78)
Rnd 26: (starting the brim) *sc in nxt 12, 2 sc in nxt.* Rep *-* around. (84)
Rnd 27: *sc in nxt 13, 2 sc in nxt.* Rep *-* around. (90)
Rnd 28: *sc in nxt 14, 2 sc in nxt.* Rep *-* around. (96)

-Note: The next three rnds will try to calm those points that should be forming around the brim. It’ll be the same technique we’ve been doing, but the increases will go in different spots to help up round things out a bit.
Rnd 29: sc in nxt 3, 2 sc in nxt, *sc in nxt 15, 2 sc in nxt.* Rep *-* until 12 sts remain. Sc in last 12 sts. (102)
Rnd 30: sc in nxt 4, 2 sc in nxt, *sc in nxt 16, 2 sc in nxt.* Rep *-* until 12 sts remain. Sc in last 12 sts. (108)
Rnd 31: sc in nxt 5, 2 sc in nxt, *sc in nxt 17, 2 sc in nxt.* Rep *-* until 12 sts remain. Sc in last 12 sts. (114)
-Note: Brim should be curling by now. That’s good. See above. Back to the original st pattern for the rest of the hat.
Rnd 32: *sc in nxt 18, 2 sc in nxt.* Rep *-* around. (120)
Rnd 33: *sc in nxt 19, 2 sc in nxt.* Rep *-* around. (126)
Rnd 34: *sc in nxt 20, 2 sc in nxt.* Rep *-* around. (132)
Rnd 35: 1 sc in each st around. (132)
Sl st in nxt 2 sts, FO leaving a super long tail. We’ll be using that tail to fold the brim back and stitch it to itself.
At this point your hat will probably look like a floppy mess and that’s okay. In this next step we’ll be adding a bit of structure to the brim.
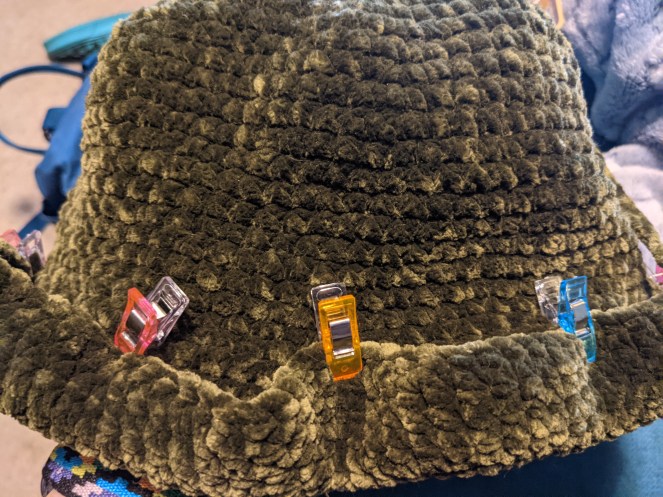
Your brim should be curling up fairly significantly. Letting it show you the way it naturally wants to curl, pin it back on itself so that it’s about 1.5 inches wide. Clip the brim into place all the way around the hat. You have a good bit of fabric that you’re working with, so just try to get even as best you can. You can straighten it out a bit as you stitch it down.
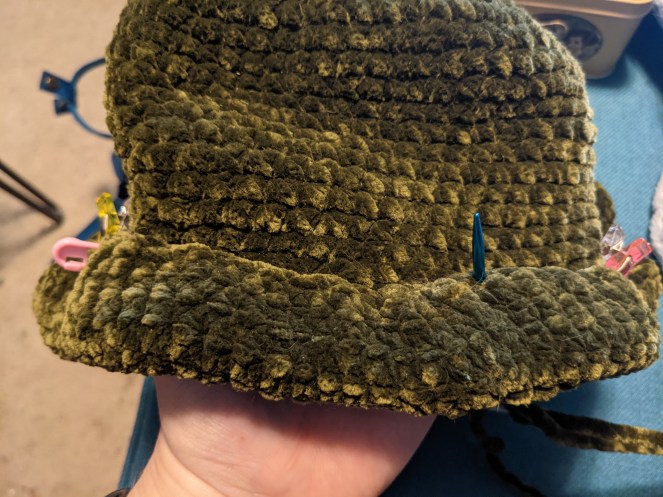
Using that long tail, thread your yarn needle and stitch the brim down to itself, as pictured above, by going straight up and down through both layers all the way around.
Weave in any remaining ends and you are good to go for the return of Millennial fashion!

Thanks for looking!
Pattern and photographs © Sarah Perks 2021.
Do not copy or reproduce in part or in its entirety and claim as your own.
Make/sell/share any items made by your own two hands, as always.
Provide your own photos.
A link back here is always appreciated.
